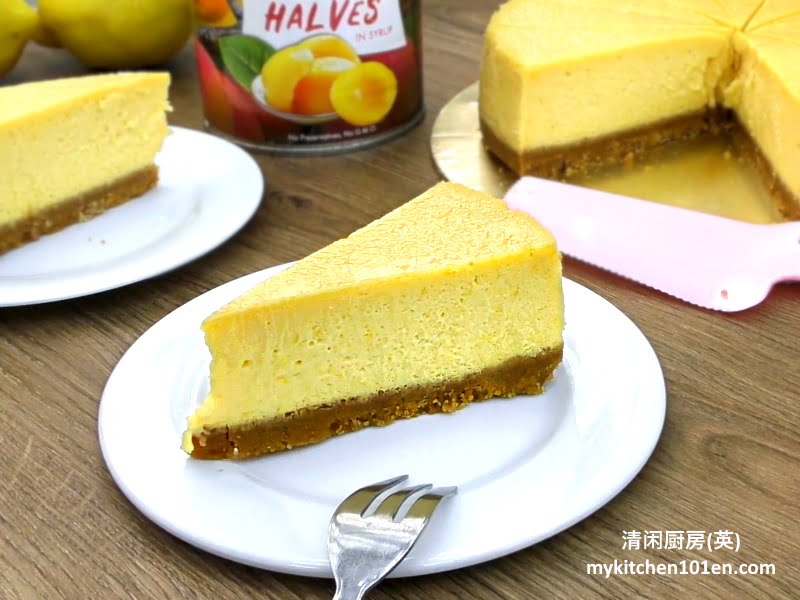
This Lemon Peach Baked Cheesecake is made without egg, flavoured with lemon peach filling made from canned peach. It is suitable for vegetarians who do consume dairy products. Dairy whipped cream is added to replace meringue to make the texture of this cheesecake not too dense.
Another eggless cheesecake recipe you might be interested: Eggless Blueberry Baked Cheesecake (with Homemade Blueberry Jam)
CHINESE VERSION: 无蛋柠檬蜜桃烤芝士蛋糕
[ads1]
Eggless Lemon Peach Baked Cheesecake | MyKitchen101en
Ingredients:
For lemon peach filling:
- 500 g canned peach (drained weight)
- 130 g (⅔ cup) fine sugar
- grated lemon zest (of 3 lemons, yellow part only)
- 5 tbsps lemon juice
For bottom biscuit crust:
- 225 g (about 15 pcs) digestive biscuit
- 35 g (2 ¾ tbsps) fine sugar
- 100 g (7 tbsps) melted butter
For cream cheese mixture:
- 400 g (about 1 ¾ cup) cream cheese (at room temp.)
- cooled lemon peach filling
- 35 g (3 ½ tbsps) low protein flour/cake flour
- 20 g (2 ½ tbsps) cornstarch
- 180 g (¾ cup + 1 tsp) dairy whipping cream
Instructions:
For lemon peach filling:
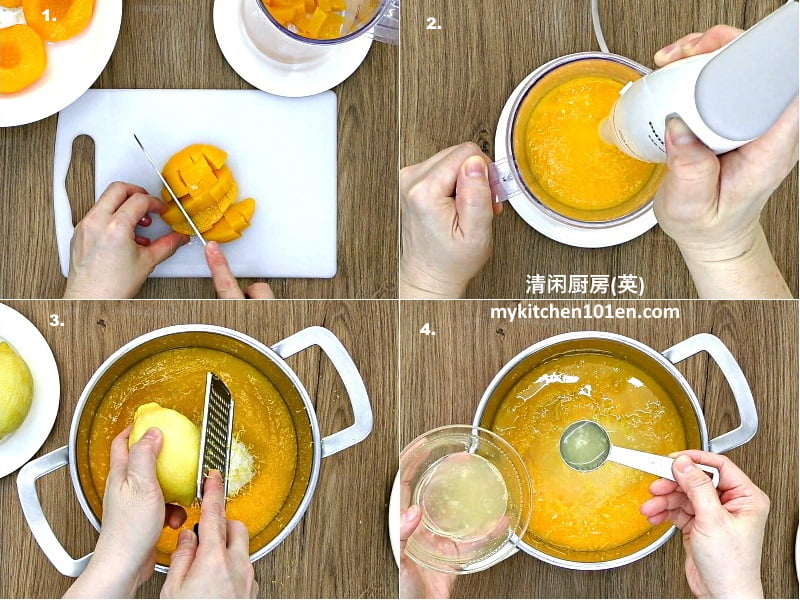
1 Dice peach, blend until smooth. Add in sugar, grated lemon zest and lemon juice. (Reminder: Buy 1 can of Peach Halves in light syrup 825 g/29 oz, the drained weight is around 500 g.)
[ads1]
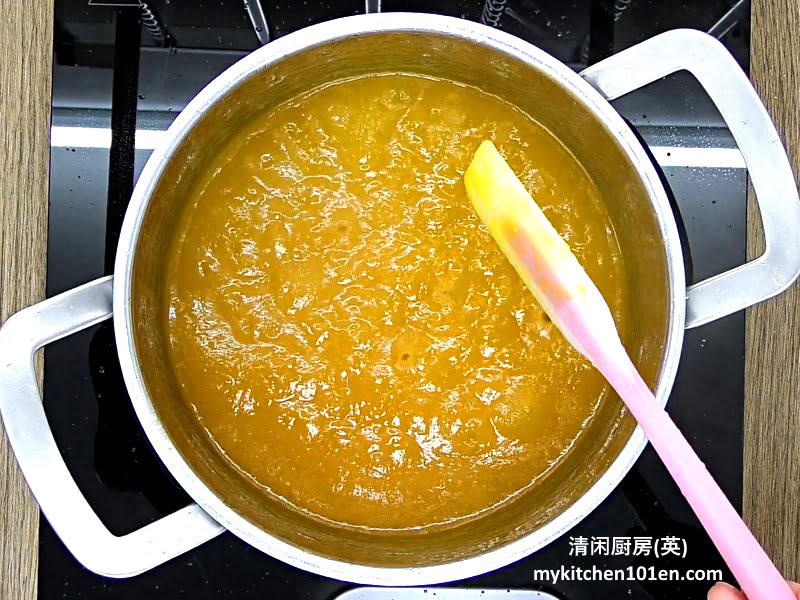
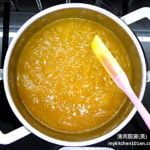
2 Bring to the boil, cook between medium-low to medium heat for 10-11 minutes, until slightly thickened. Set aside to cool. (Reminder: Use cooking pot with a thicker base to prevent burning.)
For bottom biscuit crust:
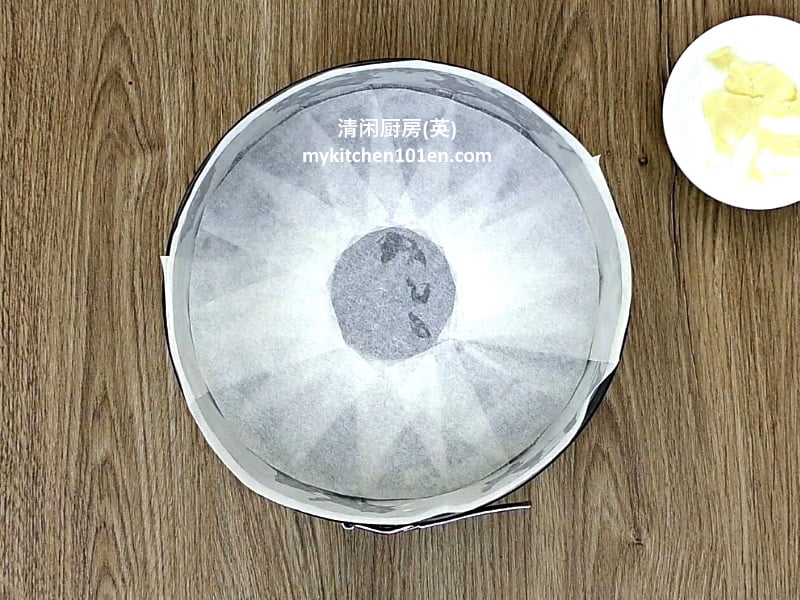
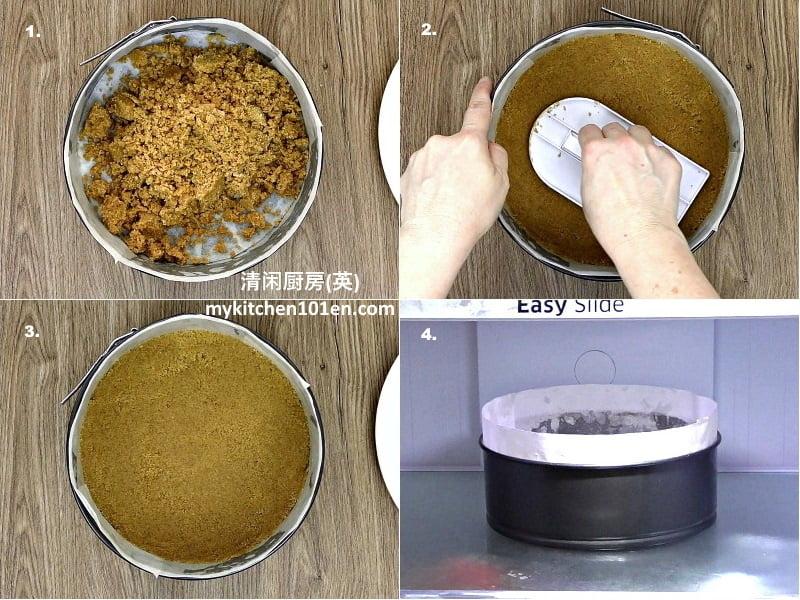
1 Grease and line 8-inch/20-cm round loose base baking pan with parchment paper. Related: Is Parchment Paper the Same as Wax Paper?
[ads1]
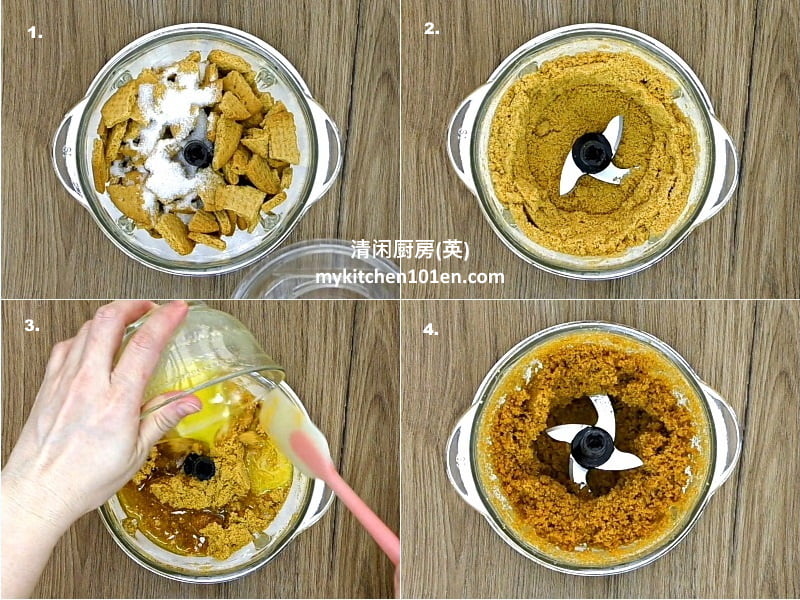
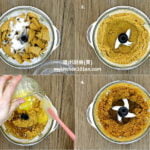
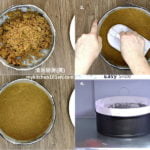
2 Add sugar to digestive biscuit, process until fine with food processor. Add in melted butter, process until well mixed.
3 Transfer to baking pan, press down until firm, keep refrigerated for later use.
Making cheesecake:
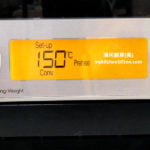
1 Preheat oven to 150°C/300°F.

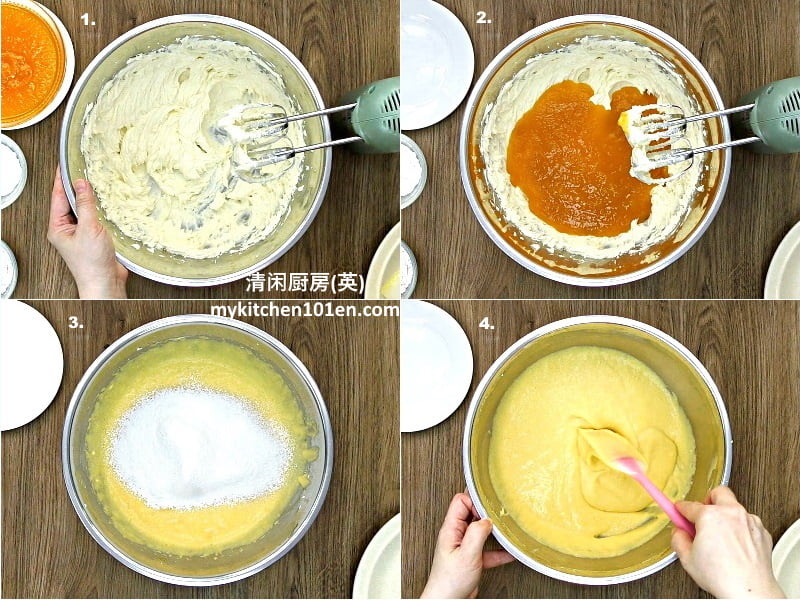
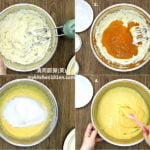
2 Beat cream cheese over medium speed until smooth. Add in cooled lemon peach filling, mix until blended. Sift low protein flour and cornstarch into cheese mixture, mix until well blended. (Reminder: If the cream cheese is cold, you won’t be able to beat until smooth and creamy.)
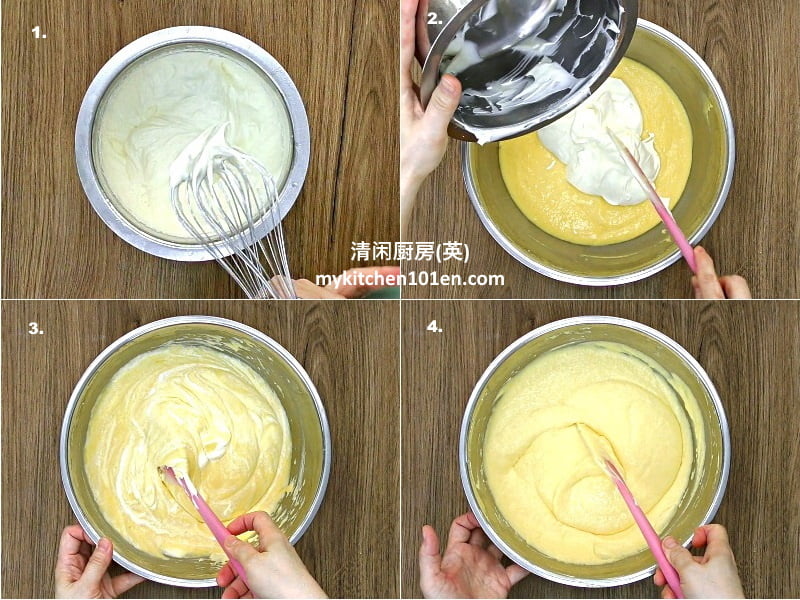
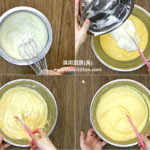
3 Whip dairy whipping cream over low speed until soft peak, add to cheese mixture, fold until combined. (Reminder: Use stainless steel mixing bowl for whipping. Keep both mixing bowl and whisk in freezer for 30 minutes to chill them up before using.)
4 Pour cheese mixture onto biscuit crust, level the surface with spatula.
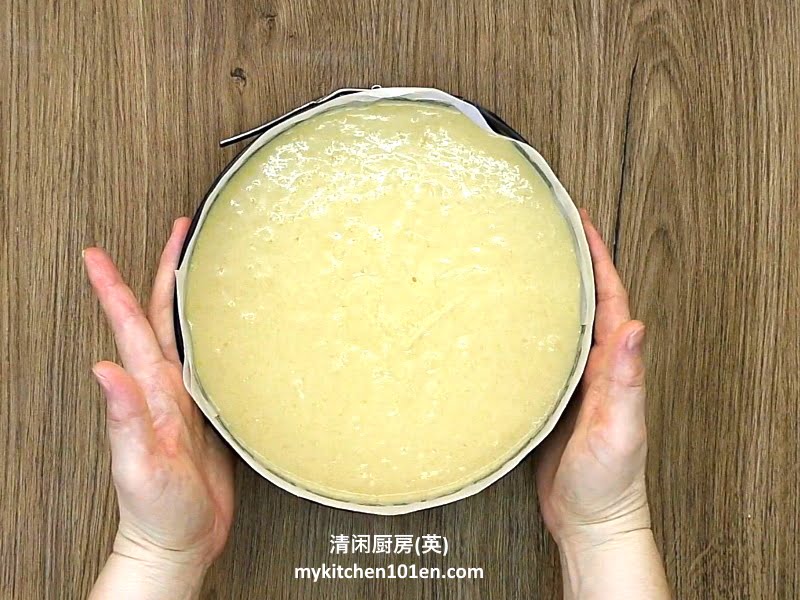
5 Put baking pan with cheese mixture into 9-inch/23-cm round baking pan (line with a thick layer of kitchen towels), then put into 10-inch/25-cm square baking pan. Fill square pan with plain water, about 1.5″ high. (Reminder: I prefer to use plain water for water bath as the cake tends to crack if hot water is used.)
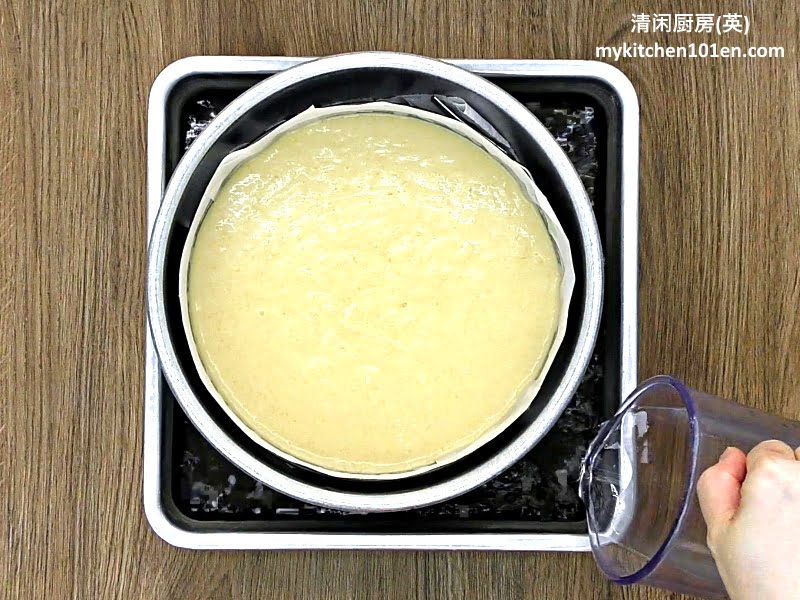
6 Bake in the preheated oven at 150°C/300°F for 1 hour, then at 140°C/285°F for 30 minutes.
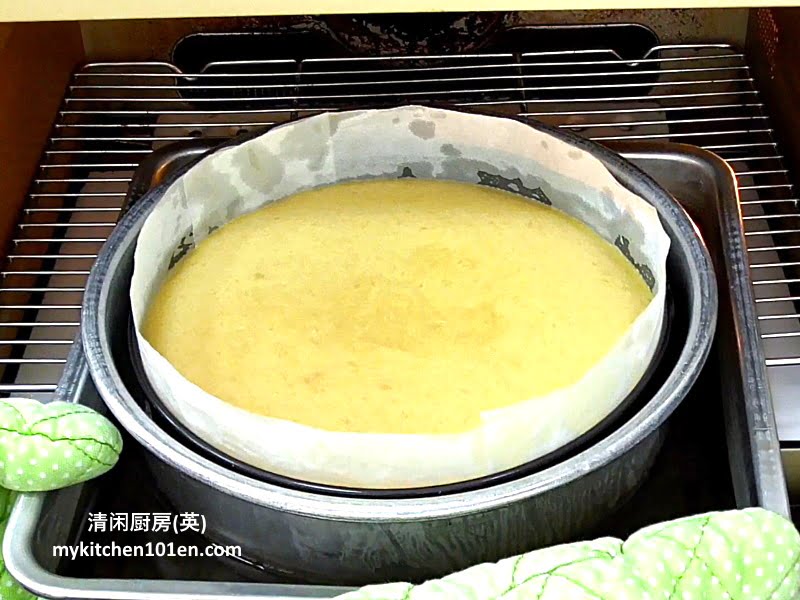
7 Remove water bath, cool on wire rack for 5 minutes, then take Lemon Peach Baked Cheesecake out and cool completely on wire rack.
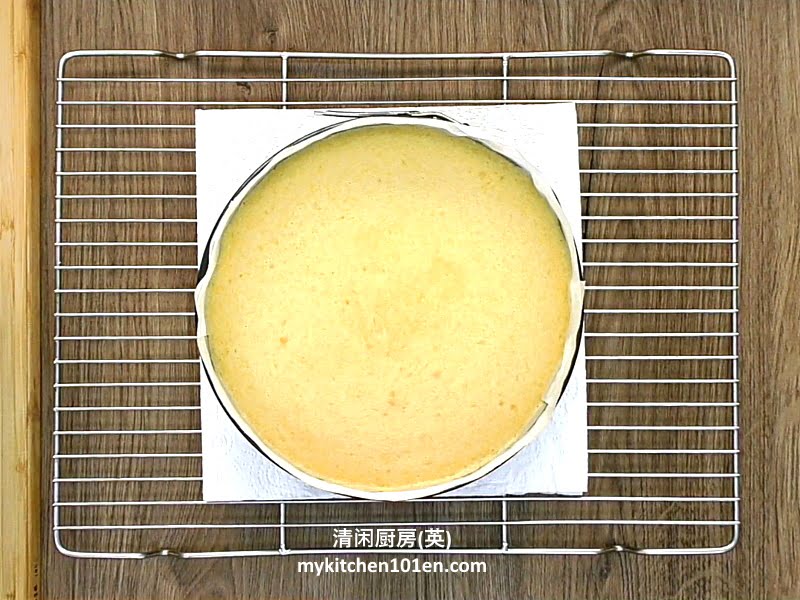
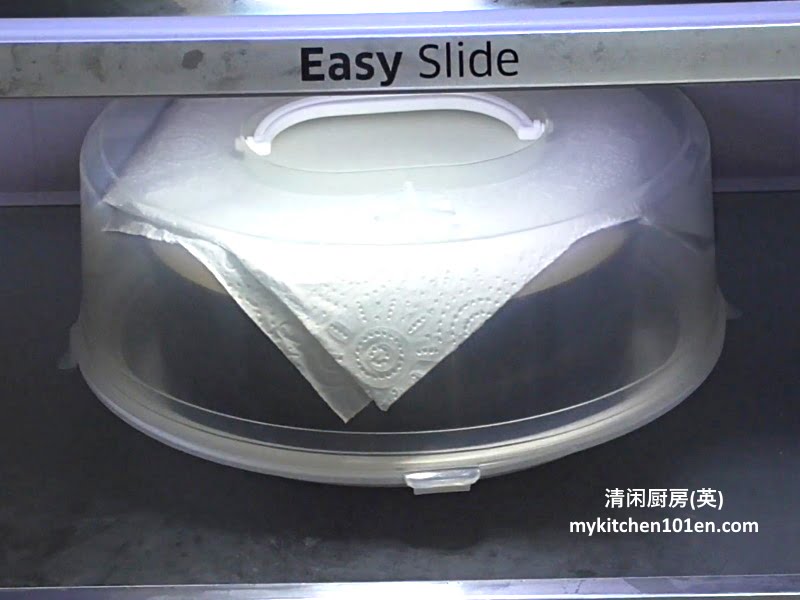
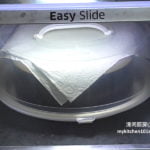
8 When completely cooled, cover the cheesecake and keep refrigerated overnight.
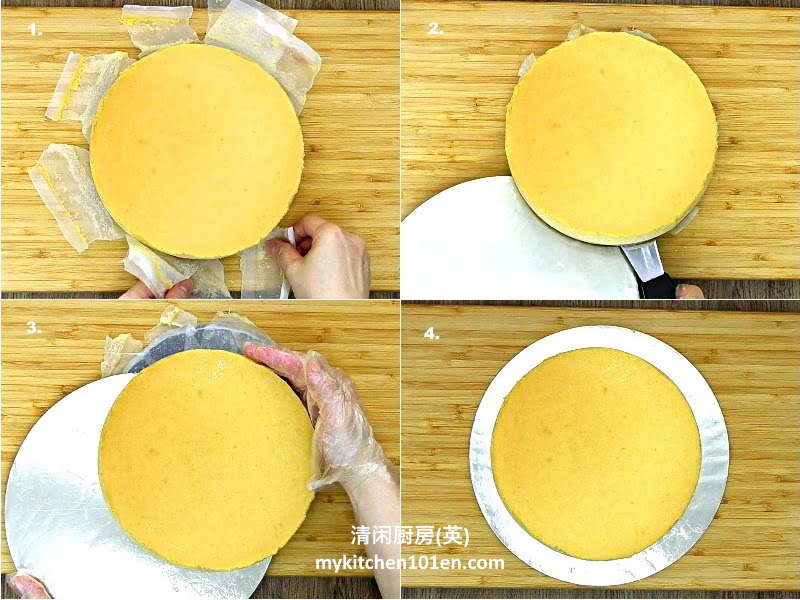
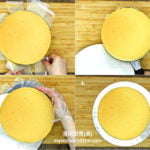
9 Unmould the cake, remove parchment paper, then transfer the cake to cake board.
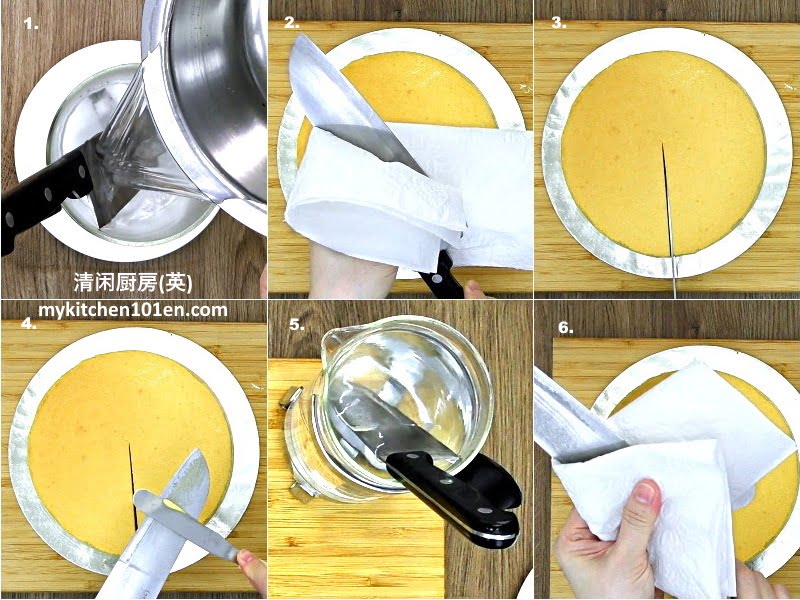
10 Dip knife in hot water, then dry with clean kitchen towels. Cut Lemon Peach Baked Cheesecake into 12 portions with hot knife, clean the knife after each cut.
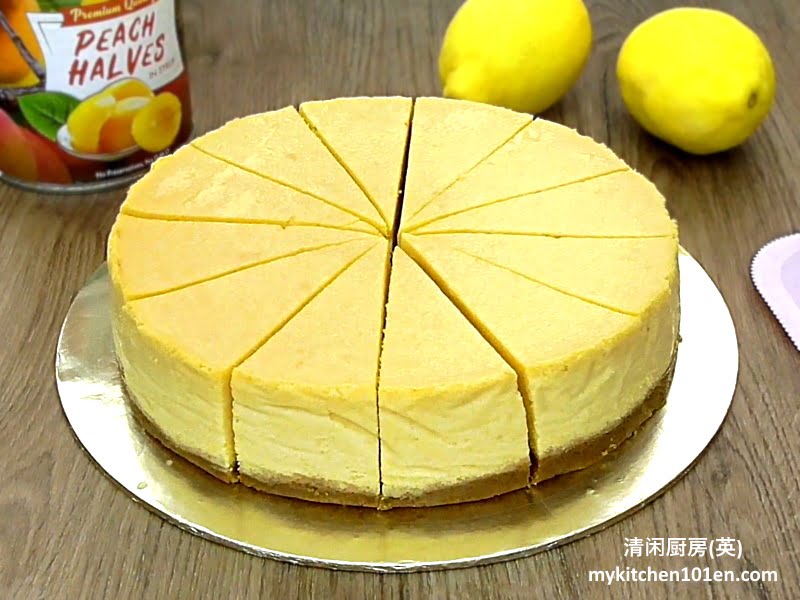
Eggless Lemon Peach Baked Cheesecake
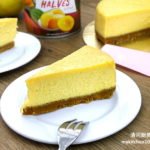
A baked cheesecake made without egg, flavoured with lemon peach filling made from canned peach.
- round loose base baking pan
- round baking pan
- square baking pan
For lemon peach filling:
- 500 g canned peach (drained weight)
- 130 g fine sugar
- 3 grated lemon zest (of 3 lemons, yellow part only)
- 5 tbsps lemon juice
For bottom biscuit crust:
- 225 g digestive biscuit (about 15 pcs)
- 35 g fine sugar
- 100 g melted butter
For cream cheese mixture:
- 400 g cream cheese ((at room temp.))
- cooled lemon peach filling
- 35 g low protein flour/cake flour
- 20 g cornstarch
- 180 g dairy whipping cream
For lemon peach filling:
- Dice peach, blend until smooth. Add in sugar, grated lemon zest and lemon juice. (Reminder: Buy 1 can of Peach Halves in light syrup 825 g/29 oz, the drained weight is around 500 g.)

Bring to the boil, cook between medium-low to medium heat for 10-11 minutes, until slightly thickened. Set aside to cool. (Reminder: Use cooking pot with a thicker base to prevent burning.)
For bottom biscuit crust:
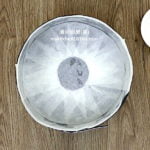
Grease and line 8-inch/20-cm round loose base baking pan with parchment paper.
Add sugar to digestive biscuit, process until fine with food processor. Add in melted butter, process until well mixed.
Transfer to baking pan, press down until firm, keep refrigerated for later use.
Making cheesecake:
Preheat oven to 150°C/300°F.
- Beat cream cheese over medium speed until smooth. Add in cooled lemon peach filling, mix until blended. Sift low protein flour and cornstarch into cheese mixture, mix until well blended. (Reminder: If the cream cheese is cold, you won’t be able to beat until smooth and creamy.)
Whip dairy whipping cream over low speed until soft peak, add to cheese mixture, fold until combined. (Reminder: Use stainless steel mixing bowl for whipping. Keep both mixing bowl and whisk in freezer for 30 minutes to chill them up before using.)
- Pour cheese mixture onto biscuit crust, level the surface with spatula.
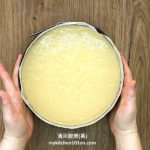
Put baking pan with cheese mixture into 9-inch/23-cm round baking pan (line with a thick layer of kitchen towels), then put into 10-inch/25-cm square baking pan. Fill square pan with plain water, about 1.5″ high. (Reminder: I prefer to use plain water for water bath as the cake tends to crack if hot water is used.)
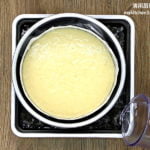
- Bake in the preheated oven at 150°C/300°F for 1 hour, then at 140°C/285°F for 30 minutes.
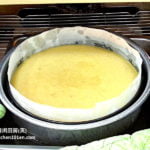
Remove water bath, cool on wire rack for 5 minutes, then take cheesecake out and cool completely on wire rack.
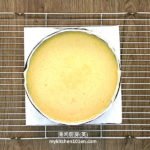
When completely cooled, cover and keep refrigerated overnight.
Unmould the cake, remove parchment paper, then transfer cake to cake board.
Dip knife in hot water, then dry with clean kitchen towels. Cut cheesecake into 12 portions with hot knife, clean the knife after each cut.
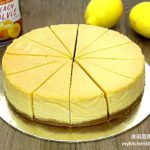
This recipe yields a 8 inch / 20 cm round cake of about 12 pieces.
The nutritional value for reference is of 1 piece of cake.

Nice.cake
Out of curiosity, why is a water bath needed?
The main reasons for using a water bath in baking are:
1. Temperature regulation: Water baths help regulate the temperature around the cake, ensuring it cooks evenly and gently. Water has a high heat capacity, so it takes a long time to heat up and cool down, which helps prevent rapid temperature fluctuations that can cause the cake to cook unevenly or crack.
2. Moisture: A water bath adds moisture to the oven environment, which can prevent the cake from drying out. This is particularly important for delicate and creamy cakes that require a moist environment to maintain their smooth texture.
3. Preventing cracks: The gentle heat from a water bath can help prevent cracks from forming on the surface of the cake, particularly for cheesecakes. Cracks are usually a result of uneven baking or temperature fluctuations. The water bath ensures a more consistent temperature and can minimize the risk of cracks.
4. Improved texture: The gentle, even heat from a water bath allows for a smoother, creamier texture in custard-based cakes, like cheesecakes. It allows the cake to set slowly, which reduces the likelihood of overcooking or developing a rubbery texture.