
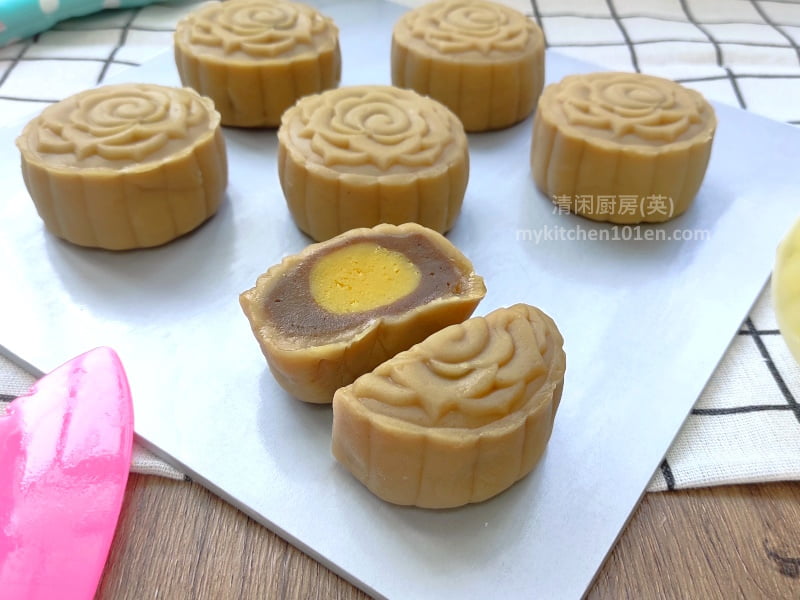
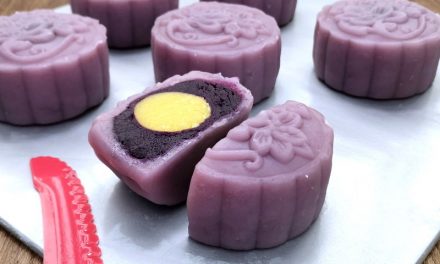
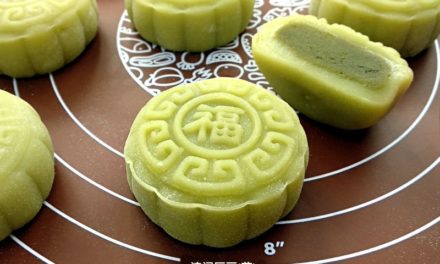
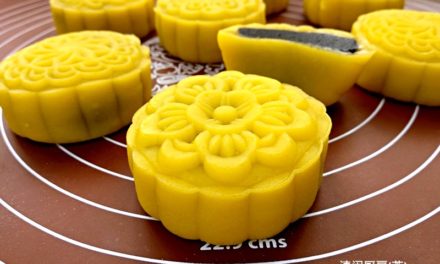
Both the snow skin and filling of this Coffee Snow Skin Mooncake are flavoured with instant coffee powder. The yellow colour “egg yolk” in the centre is not a real egg yolk, it is made from cheese, custard and mung bean.
Making your own snow skin mooncake from scratch is quite easy. Homemade mooncake is considered healthier as no additive or preservative are added. Since no preservative, it needed too be kept refrigerated or frozen to maintain the freshness.
CHINESE VERSION: 芝士奶黄咖啡冰皮月饼
[ads1]
Cheese Custard Coffee Snow Skin Mooncake | MyKitchen101en
Yields: 6 mooncakes (125 g each)
Ingredients for coffee snow skin: (Yields: 360 g)
- 50 g glutinous rice flour
- 45 g rice flour
- 20 g wheat starch
- 60 g icing sugar
- 185 g milk
- ⅔ tsp instant coffee powder
- 38 g vegetable oil
Ingredients for mooncake filling:
- 300 g coffee mung bean paste (Please refer: Coffee Mung Bean Paste for Mooncake)
- 6 pc (15 g each) cheese custard “egg yolks” (Please refer: Cheese Custard Mung Bean “Egg Yolk” for Mooncake)
Directions for Coffee Snow Skin:
1 Add instant coffee powder to milk, mix well. Add in vegetable oil, mix well. Add in glutinous rice flour, rice flour, wheat starch and icing sugar, mix until combined. Coat heat resistant bowl with oil, then sieve mixture into the bowl. Steam over medium heat for 25 minutes.

[ads1]
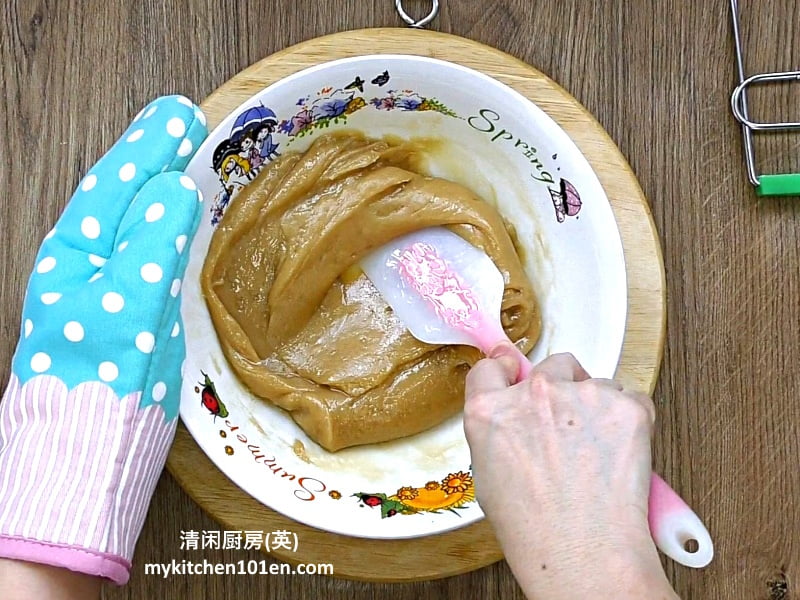
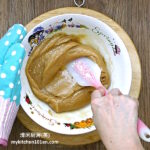
2 Mix until smooth with silicone spatula for 3-4 minutes while still hot. Set aside for 10 minutes until slightly cooled.
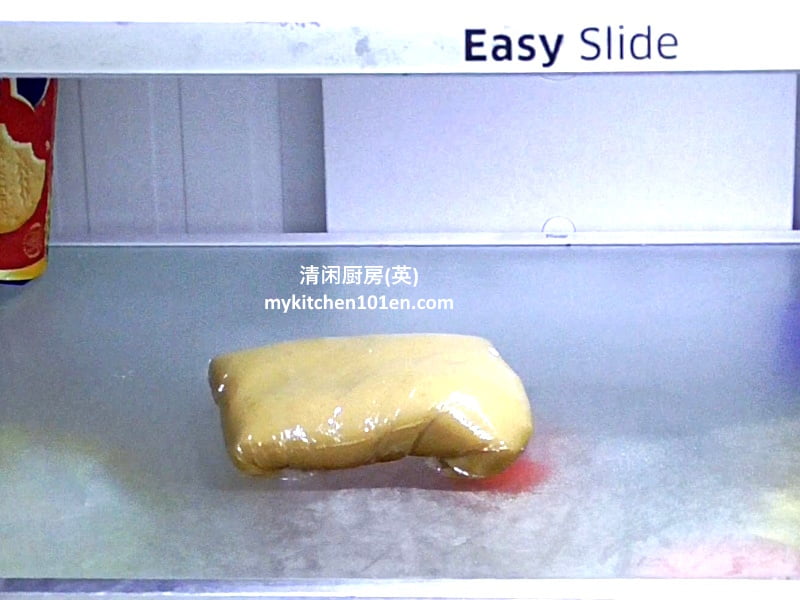
3 When slightly cooled, wrap with cling wrap and chill for 30-35 minutes.
[ads1]
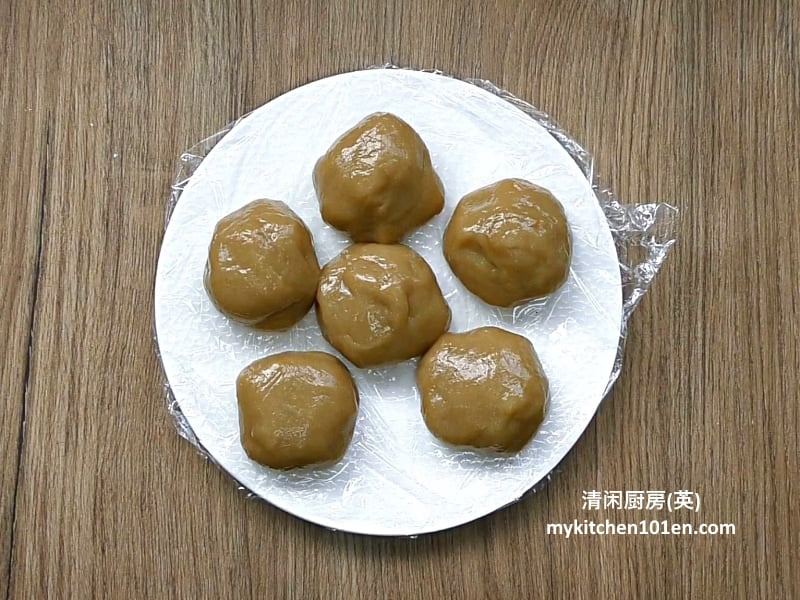
4 Divide coffee snow skin into 6 portions (about 60 g each).
Directions for Mooncake Filling:
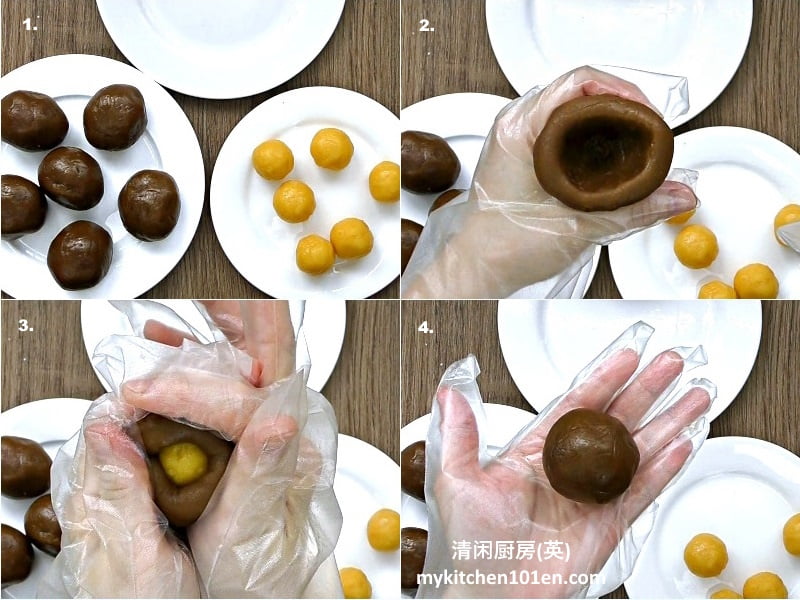
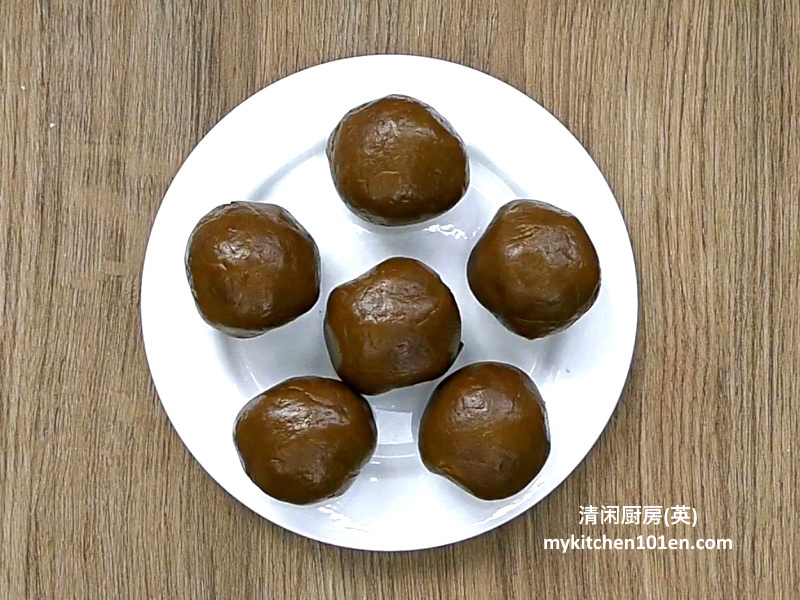
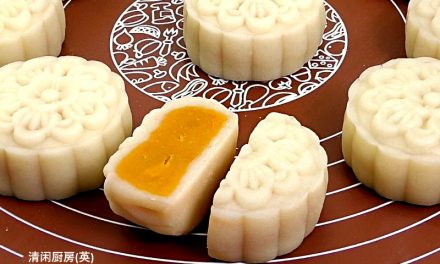
1 Divide coffee mooncake paste into 6 portions (50 g each). Shape the paste into a bowl, fill with cheese custard “egg yolk”, wrap the “egg yolk” fully with the paste. Press until firm, then shape gently into a ball.
Making Coffee Snow Skin Mooncake:
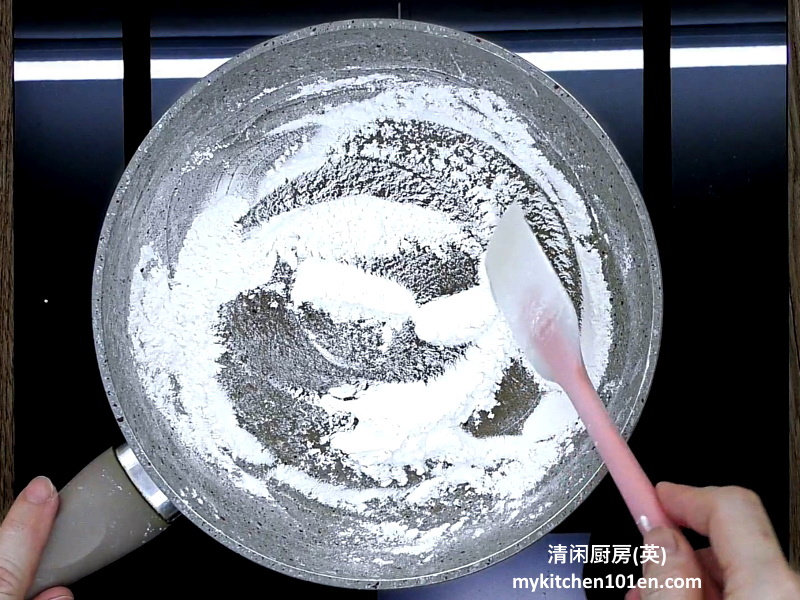
1 For hand-coating flour: Stir-fry 1 tablespoon of glutinous rice flour in dry pan over medium-low heat for 5 minutes, set aside to cool.
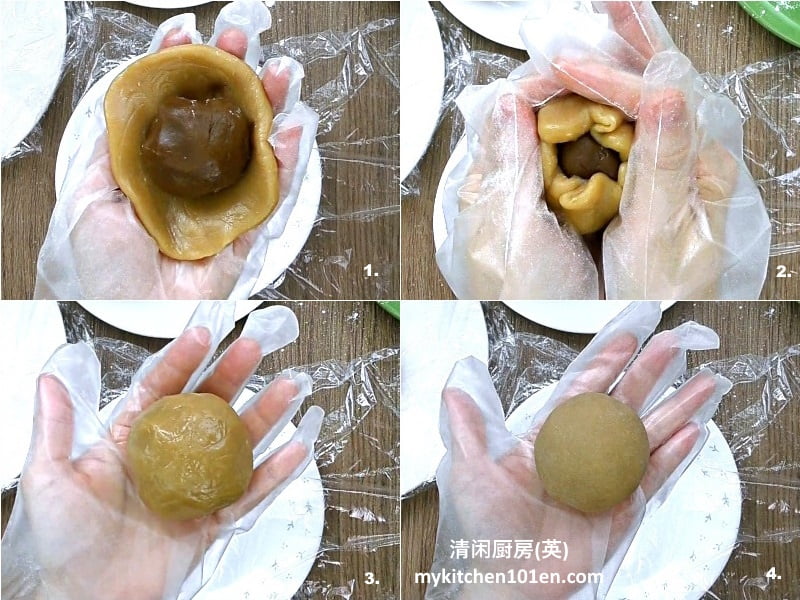
2 Flatten snow skin lightly into round shape with a plate, put filling at the center, wrap filling fully with snow skin. Press until firm, then shape gently into a ball. Lightly coat with hand-coating flour. (Reminder: Wear polyethylene embossed gloves when shaping snow skin mooncake will prevent it from sticking.)
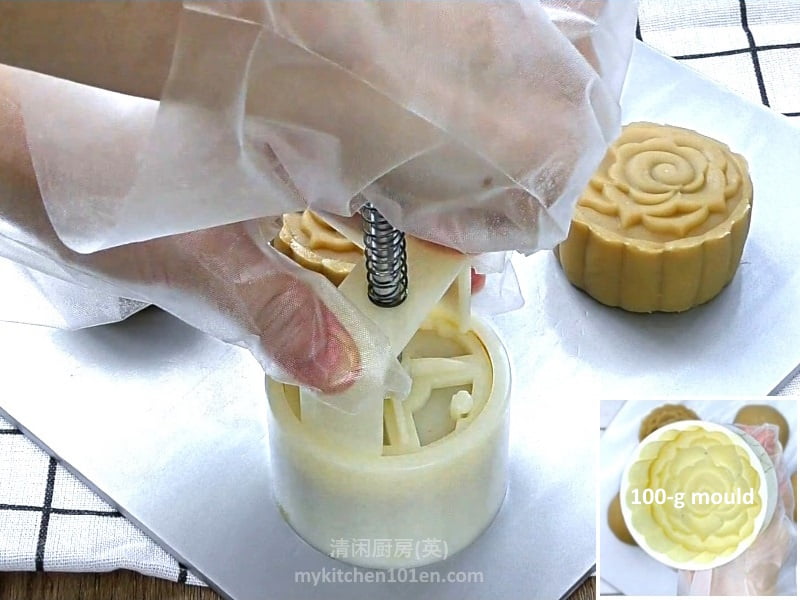
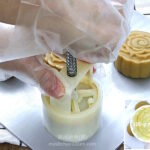
3 Print the pattern with mooncake mould (100-g size). (Reminder: Using 100-g mooncake mould to make 125-g mooncake will yield a taller mooncake.)
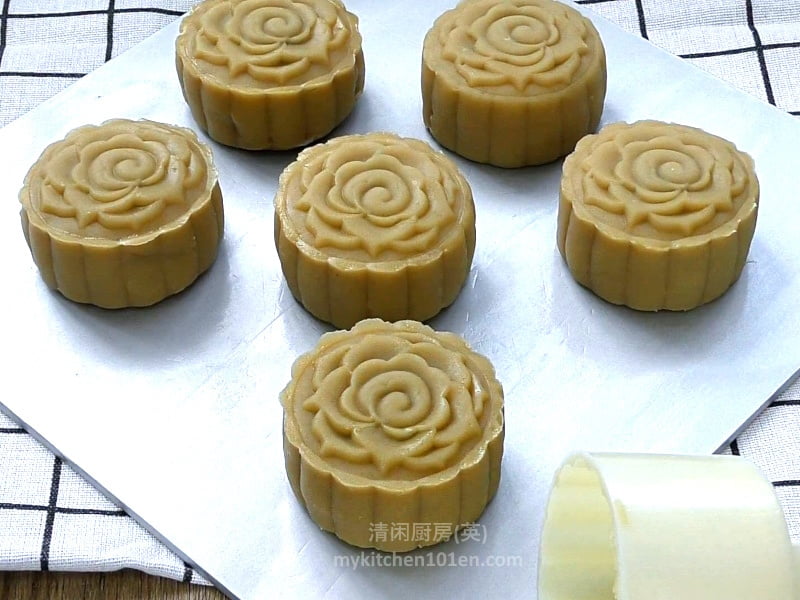
4 Chill coffee snow skin mooncake for 1 hour before serving for a better texture.
Storage instructions for Snow Skin Mooncake:
Put snow skin mooncakes in freezer-safe container and freeze for later consumption, thaw in refrigerator before serving. Always finish thawed snow skin mooncake within the same day. Avoid keeping snow skin mooncakes in refrigerator overnight as the snow skin will harden. Best served within 1 week. )
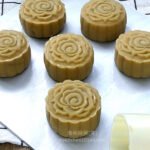
Cheese Custard Coffee Snow Skin Mooncake
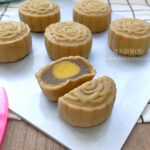
Both the snow skin and filling of this Coffee Snow Skin Mooncake are flavoured with instant coffee powder. The yellow colour “egg yolk” in the centre is not a real egg yolk, it is made from cheese, custard and mung bean.
- 100-g mooncake mould
Ingredients for coffee snow skin: (Yields: 360 g)
- 50 g glutinous rice flour
- 45 g rice flour
- 20 g wheat starch
- 60 g icing sugar
- 185 g milk
- ⅔ tsp instant coffee powder
- 38 g vegetable oil
Ingredients for mooncake filling:
- 300 g coffee mung bean paste (Please refer: Coffee Mung Bean Paste for Mooncake)
- 6 pc (15 g each cheese custard “egg yolks” (Please refer: Cheese Custard Mung Bean “Egg Yolk” for Mooncake))
Directions for Coffee Snow Skin:
- Add instant coffee powder to milk, mix well. Add in vegetable oil, mix well. Add in glutinous rice flour, rice flour, wheat starch and icing sugar, mix until combined. Coat heat resistant bowl with oil, then sieve mixture into the bowl. Steam over medium heat for 25 minutes.

Mix until smooth with silicone spatula for 3-4 minutes while still hot. Set aside for 10 minutes until slightly cooled.
When slightly cooled, wrap with cling wrap and chill for 30-35 minutes.

Divide coffee snow skin into 6 portions (about 60 g each).

Directions for Mooncake Filling:
- Divide coffee mooncake paste into 6 portions (50 g each). Shape the paste into a bowl, fill with cheese custard “egg yolk”, wrap the “egg yolk” fully with the paste. Press until firm, then shape gently into a ball.

Making Coffee Snow Skin Mooncake:
For hand-coating flour: Stir-fry 1 tablespoon of glutinous rice flour in dry pan over medium-low heat for 5 minutes, set aside to cool.

Flatten snow skin lightly into round shape with a plate, put filling at the center, wrap filling fully with snow skin. Press until firm, then shape gently into a ball. Lightly coat with hand-coating flour.

Print the pattern with mooncake mould (100-g size). (Reminder: Using 100-g mooncake mould to make 125-g mooncake will yield a taller mooncake.)
- Chill coffee snow skin mooncake for 1 hour before serving for a better texture.
This recipe yields 6 snow skin mooncakes, 125 g each.
Reminder: Wear polyethylene embossed gloves when shaping snow skin mooncake will prevent it from sticking.
Storage instructions for Snow Skin Mooncake:
Put snow skin mooncakes in freezer-safe container and freeze for later consumption, thaw in refrigerator before serving. Always finish thawed snow skin mooncake within the same day. Avoid keeping snow skin mooncakes in refrigerator overnight as the snow skin will harden. Best served within 1 week. )